How to Repair Broken Necklaces At Home
Introduction: How to Repair Broken Necklaces and Maintain Their Longevity
Repairing broken necklaces is a common concern for jewelry lovers who wear their favorite pieces daily. Whether it’s a delicate chain, a beaded strand, or a pendant necklace, accidents happen. Daily wear, accidental tugs, or weak clasps can cause necklaces to break unexpectedly. Learning how to repair broken necklaces at home can save time, money, and stress. Beyond repair, understanding proper necklace maintenance can prevent damage in the first place. In this guide, you will discover practical steps to fix necklaces, essential tools for jewelry repair, and tips to maintain their longevity. With these tips, you can keep your jewelry looking beautiful and functional every day.
Understanding Common Necklace Breaks
Before you start to repair broken necklaces, it’s important to understand why they break. Common issues include weak clasps, worn-out links, tangled chains, or broken jump rings. Delicate chains often snap under pressure, while heavier pendant necklaces may stress the clasp. Beads and gemstones can also loosen over time, causing strands to break. Recognizing the type of damage helps you choose the right approach and tools for jewelry repair. Paying attention to necklace maintenance can prevent future breaks. Simple practices, such as storing necklaces properly and avoiding harsh chemicals, contribute to long-lasting jewelry. Understanding these common issues ensures your fix necklaces efforts are effective and safe.
Essential Tools for Fixing Necklaces at Home
Having the right tools is crucial for effective jewelry repair. Basic tools include small jewelry pliers, wire cutters, tweezers, jump rings, and a magnifying glass. Needle-nose pliers help open and close jump rings without damaging the metal. Wire cutters allow precise trimming of excess chain or wire. Tweezers assist in handling small beads or clasps. A magnifying glass ensures you can see fine details clearly, which is especially useful for delicate chains. Additionally, you may want a jewelry repair mat to keep small components organized. Using proper tools makes it easier to repair broken necklaces safely, maintaining the integrity and appearance of your jewelry.
Step-by-Step Guide to Repair Broken Necklaces
Repairing broken necklaces at home can be simple if you follow these steps carefully. First, identify the break point. Is it a broken clasp, a snapped chain link, or a loose jump ring? Once identified, gather the necessary tools, including needle-nose pliers, tweezers, and spare jump rings.
Step 1: Open the Jump Ring
Using needle-nose pliers, gently twist the jump ring open sideways, not pulling it apart, to prevent weakening the metal.
Step 2: Reattach the Chain or Pendant
Slide the broken chain end or pendant onto the open jump ring. Make sure it sits securely and aligns properly.
Step 3: Close the Jump Ring
Twist the jump ring back into place with pliers, ensuring there’s no gap. A properly closed ring prevents accidental breaks.
Step 4: Test the Necklace
Gently tug the necklace to ensure it is secure. Check the clasp function and alignment of the chain.
Step 5: Clean and Polish
After fixing, clean the necklace using mild soap and a soft cloth. This removes oils and dirt accumulated during repair. For silver necklaces, you can follow detailed clean silver tips from our Clean Sterling Silver Rings blog for extra shine.
Step 6: Prevent Future Breaks
Store necklaces separately, avoid pulling them during wear, and perform regular maintenance to extend their lifespan.
Following these steps allows you to repair broken necklaces safely, even delicate chains or gemstone-accented pieces. With a little patience, you can restore your jewelry to wearable condition without visiting a professional.
Fixing Clasps and Jump Rings
A broken clasp or jump ring is one of the most common issues with necklaces, but you can fix them at home with simple tools. Start by identifying the type of clasp—lobster, spring ring, or toggle—and the size of the jump ring.
Steps to fix a clasp or jump ring:
- Prepare your tools: You’ll need two pairs of small pliers, a replacement jump ring if necessary, and a clean workspace.
- Open the jump ring carefully: Hold each side of the ring with pliers and twist sideways—never pull it apart—to avoid weakening the metal.
- Attach the clasp: Slide the clasp onto the open jump ring, then twist it back closed ensuring the ends meet perfectly.
- Check for alignment: Tug gently to confirm the clasp is secure and moves freely.
For silver necklaces, follow Clean Sterling Silver Rings tips before and after repair to prevent tarnish. For gold-plated necklaces, avoid using abrasive pliers on the plated surface to maintain the finish.
By mastering clasp and jump ring repairs, you can restore your necklaces quickly without professional help, extending their life and keeping them ready for daily wear.
Temporary vs Permanent Repairs
When a necklace breaks, you have two main repair options: temporary fixes for immediate wear and permanent repairs for long-term durability. Understanding the difference helps you maintain your jewelry while avoiding further damage.
Temporary Repairs:
- Use a spare jump ring or clasp to reconnect the necklace quickly.
- Thread the chain through a small bead or stopper to hold the ends together temporarily.
- Ideal for emergency situations, travel, or before professional repair.
- Remember, temporary fixes are not meant for prolonged wear and may stress delicate chains.
Permanent Repairs:
-
Soldering or professional welding ensures a seamless, strong connection.
-
Replacing worn jump rings or clasps with high-quality alternatives prevents future breaks.
-
Permanent repairs are recommended for valuable or sentimental necklaces and those worn frequently.
-
For silver necklaces, follow Clean Sterling Silver Rings guidance before repair to avoid tarnish during handling.
Choosing between temporary and permanent repairs depends on urgency, chain delicacy, and how often you wear the necklace. Balancing quick fixes with proper maintenance ensures your jewelry remains beautiful and functional.
Preventing Future Necklace Breaks
Once you’ve repaired your necklace, it’s essential to take steps to prevent future breaks. Proper care and handling significantly extend the life of your jewelry.
Tips to prevent future breaks:
- Avoid over-tugging or pulling: Be gentle when putting on or removing necklaces. Sudden force can weaken chains and clasps.
- Store necklaces individually: Use soft pouches, jewelry boxes, or compartmentalized organizers to prevent tangling and stress on delicate links.
- Limit exposure to moisture and chemicals: Perfumes, lotions, and sweat can weaken metals. Follow daily jewelry care routines for silver and gold pieces.
- Regular inspection: Check clasps, jump rings, and chain links periodically. Early detection of weak points helps you act before breaks occur.
- Rotate your jewelry: Avoid wearing the same necklace daily. Alternating reduces metal fatigue and wear on frequently used pieces.
By combining careful handling, proper storage, and routine inspection, you ensure that your necklaces remain durable, shiny, and ready to wear at any time. Preventing future breaks saves both time and money, while maintaining the beauty of your collection.
Our Necklace Collection for Easy Repairs
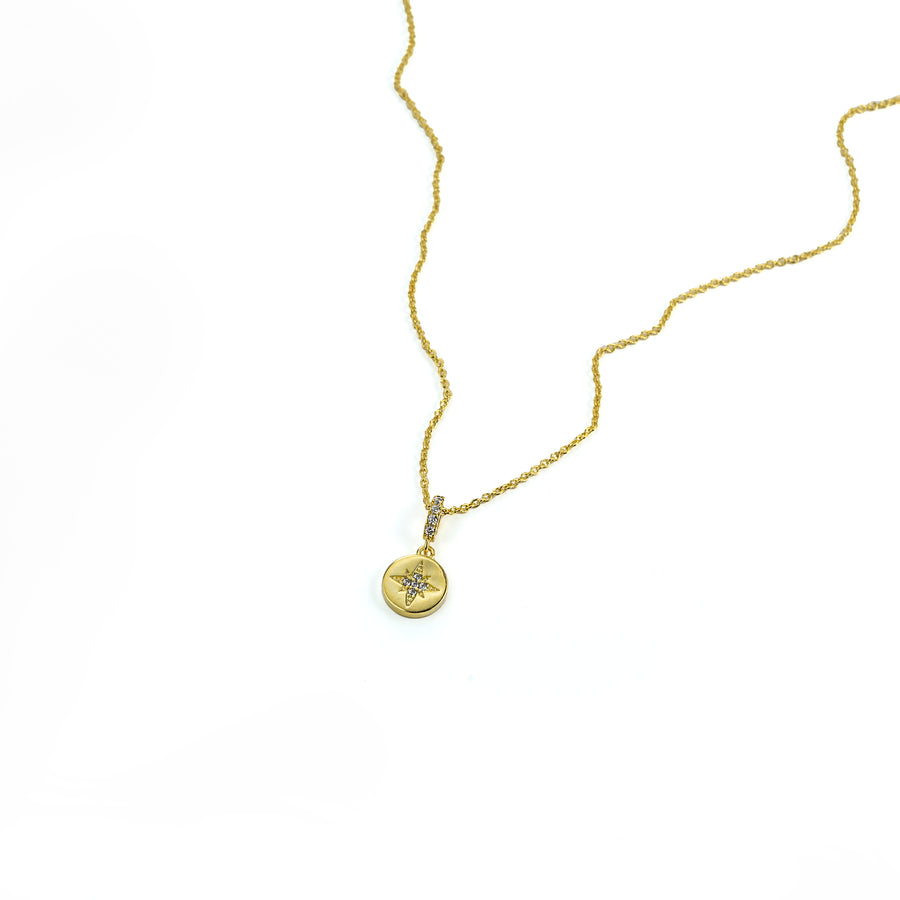
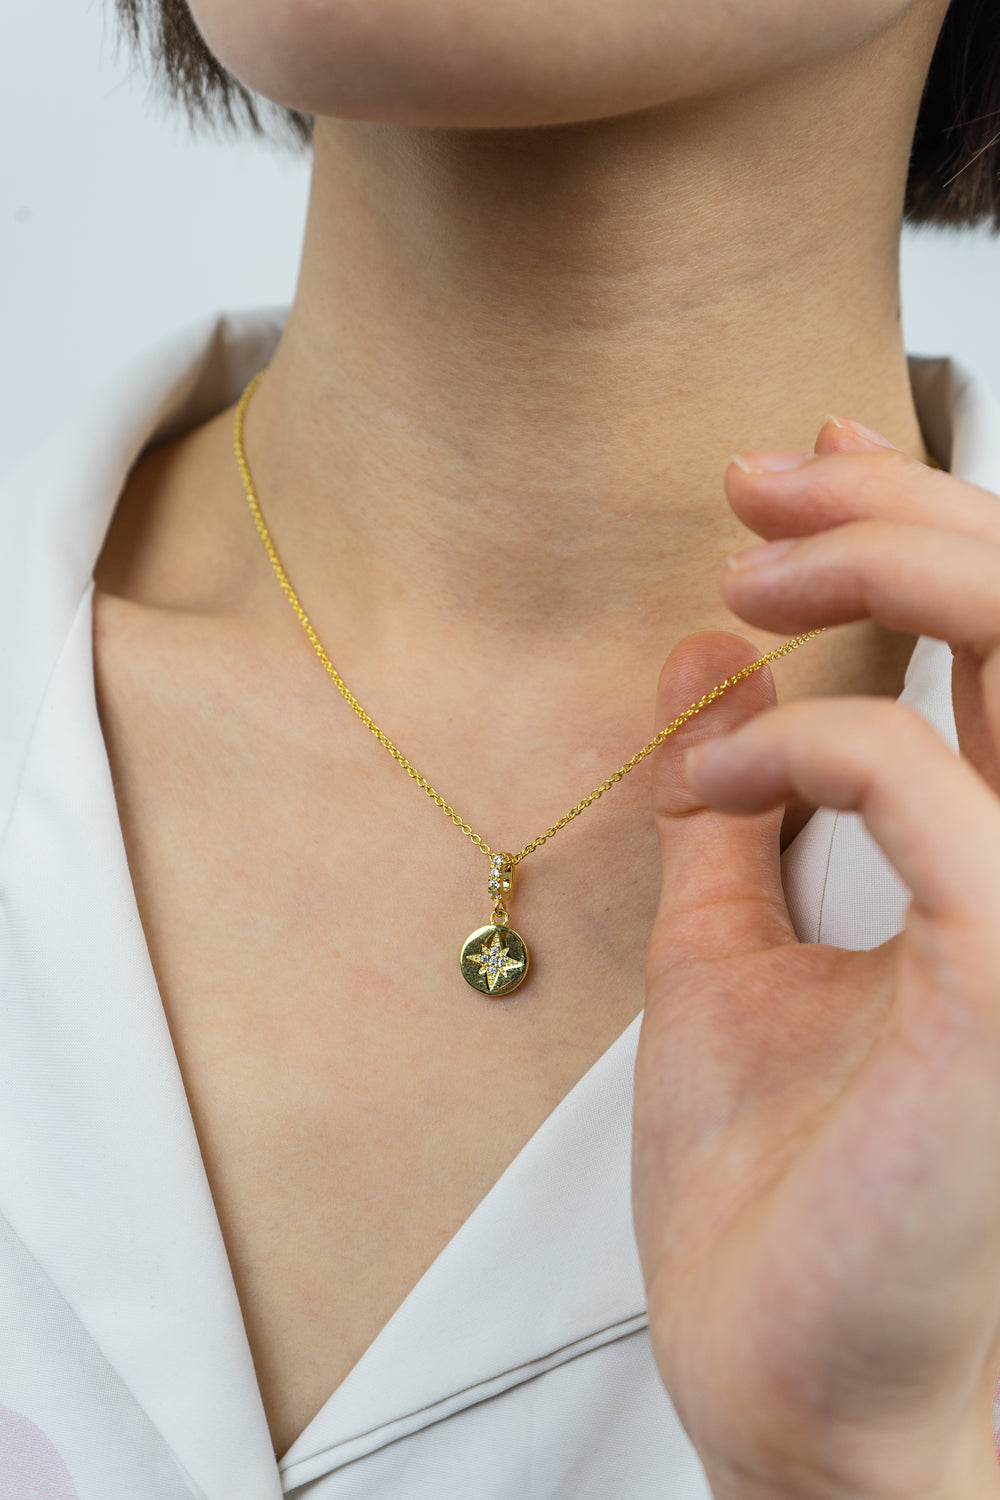
Maintaining and repairing necklaces is simpler when you choose well-crafted designs. Our curated Necklaces collection features pieces built for durability and elegance.
-
Delicate Chain Necklace – Features reinforced links that reduce the risk of breakage, making repair quick and straightforward.
-
Pendant Necklace with Adjustable Chain – Includes secure jump rings and clasps, allowing easy maintenance without professional tools.
-
Layered Silver Necklace – Crafted from premium sterling silver, resistant to kinks, and simple to inspect for weak points.
-
Gold-Plated Link Necklace – Combines classic style with robust construction, minimizing future repair needs while maintaining shine.
Selecting necklaces designed with strong links and reliable clasps ensures that even if repairs are needed, they can be addressed efficiently at home.
When to Seek Professional Jewelry Repair
While many minor repairs can be done at home, certain situations require professional expertise. If your necklace has a broken pendant bail, damaged clasp, or severely tangled chain, visiting a jeweler ensures the piece is properly restored without further damage.
Professional jewelers can handle intricate repairs, solder delicate links, or replace worn-out components with precision. Attempting these repairs at home may risk breaking the necklace further.
Additionally, valuable materials such as sterling silver, gold-plated chains, or gemstone accents should be repaired professionally to preserve their appearance and structural integrity.
For guidance on regular maintenance and simple home fixes, refer to our Daily Jewelry Care tips to extend your necklace’s longevity.
| Repair Tip | Description |
| Identify the Break | Check if the chain, clasp, or jump ring is broken before repairing. |
| Use Proper Tools | Small pliers, wire cutters, tweezers, jump rings, magnifying glass. |
| Open Jump Ring Correctly | Twist sideways with pliers, do not pull apart, to avoid weakening the metal. |
| Reattach Chain or Pendant | Slide the broken chain end or pendant onto the open jump ring. |
| Close Jump Ring Securely | Ensure ends meet perfectly to prevent future breaks. |
| Test Necklace | Gently tug to ensure it is secure and clasp functions properly. |
| Clean and Polish | Use mild soap and soft cloth; follow silver or gold care tips. |
| Prevent Future Breaks | Store individually, avoid tugging, inspect regularly, rotate jewelry. |
| Temporary vs Permanent Fix | Temporary: quick fixes for emergencies; Permanent: soldering or replacing worn parts for durability. |
| When to Seek Professional Help | For intricate repairs, gemstones, or valuable necklaces. |
Conclusion – Keep Your Necklaces Strong and Beautiful
Caring for your necklaces daily and addressing repairs promptly ensures they remain beautiful and durable. By following proper daily jewelry care routines, inspecting clasps, and knowing when to seek professional help, you can prevent common damage and enjoy your pieces for years.
Developing good habits—such as storing necklaces separately, cleaning gently, and handling them with care—minimizes breakage and keeps your jewelry shining. Incorporate these practices to maintain your sterling silver, gold-plated, and gemstone necklaces effectively.
Explore our full Necklaces collection for durable, repair-friendly designs. You can also visit our Daily Jewelry Care blog for additional tips and step-by-step guides.
With BeFruitful Jewelry, maintaining and repairing your favorite pieces is simple, helping you enjoy elegance effortlessly every day.
FAQ – How to Repair Broken Necklaces At Home
1. Can I repair broken necklaces at home safely?
Yes, minor issues like tangled chains or loose jump rings can be fixed at home with proper tools and techniques.
2. When should I seek professional jewelry repair?
If clasps, pendants, or delicate chains are severely damaged, a professional ensures safe and precise repair.
3. What tools are essential for fixing necklaces at home?
Basic tools include pliers, a magnifying glass, jump rings, replacement clasps, and a soft cloth for cleaning.
4. How can I prevent future necklace breaks?
Store necklaces separately, avoid excessive tugging, clean regularly, and inspect clasps before wearing.
5. Are certain necklace materials more delicate?
Yes, sterling silver, gold-plated chains, and gemstone-accented necklaces require careful handling to avoid damage.
6. Can I repair gemstone pendants myself?
Minor adjustments may be possible, but for secure gemstone settings, professional repair is recommended.


